
How to install tongue and groove wood wall boards
Posted: June 24, 2024Updated 6/27/2025
Author – Ryan Palma Owner/CEO Sustainable Lumber Co.
Click here to view our extensive line of sustainable wood wall boards. Receive a delivered price to your project by clicking here.
How do I install tongue and groove boards on a wall?
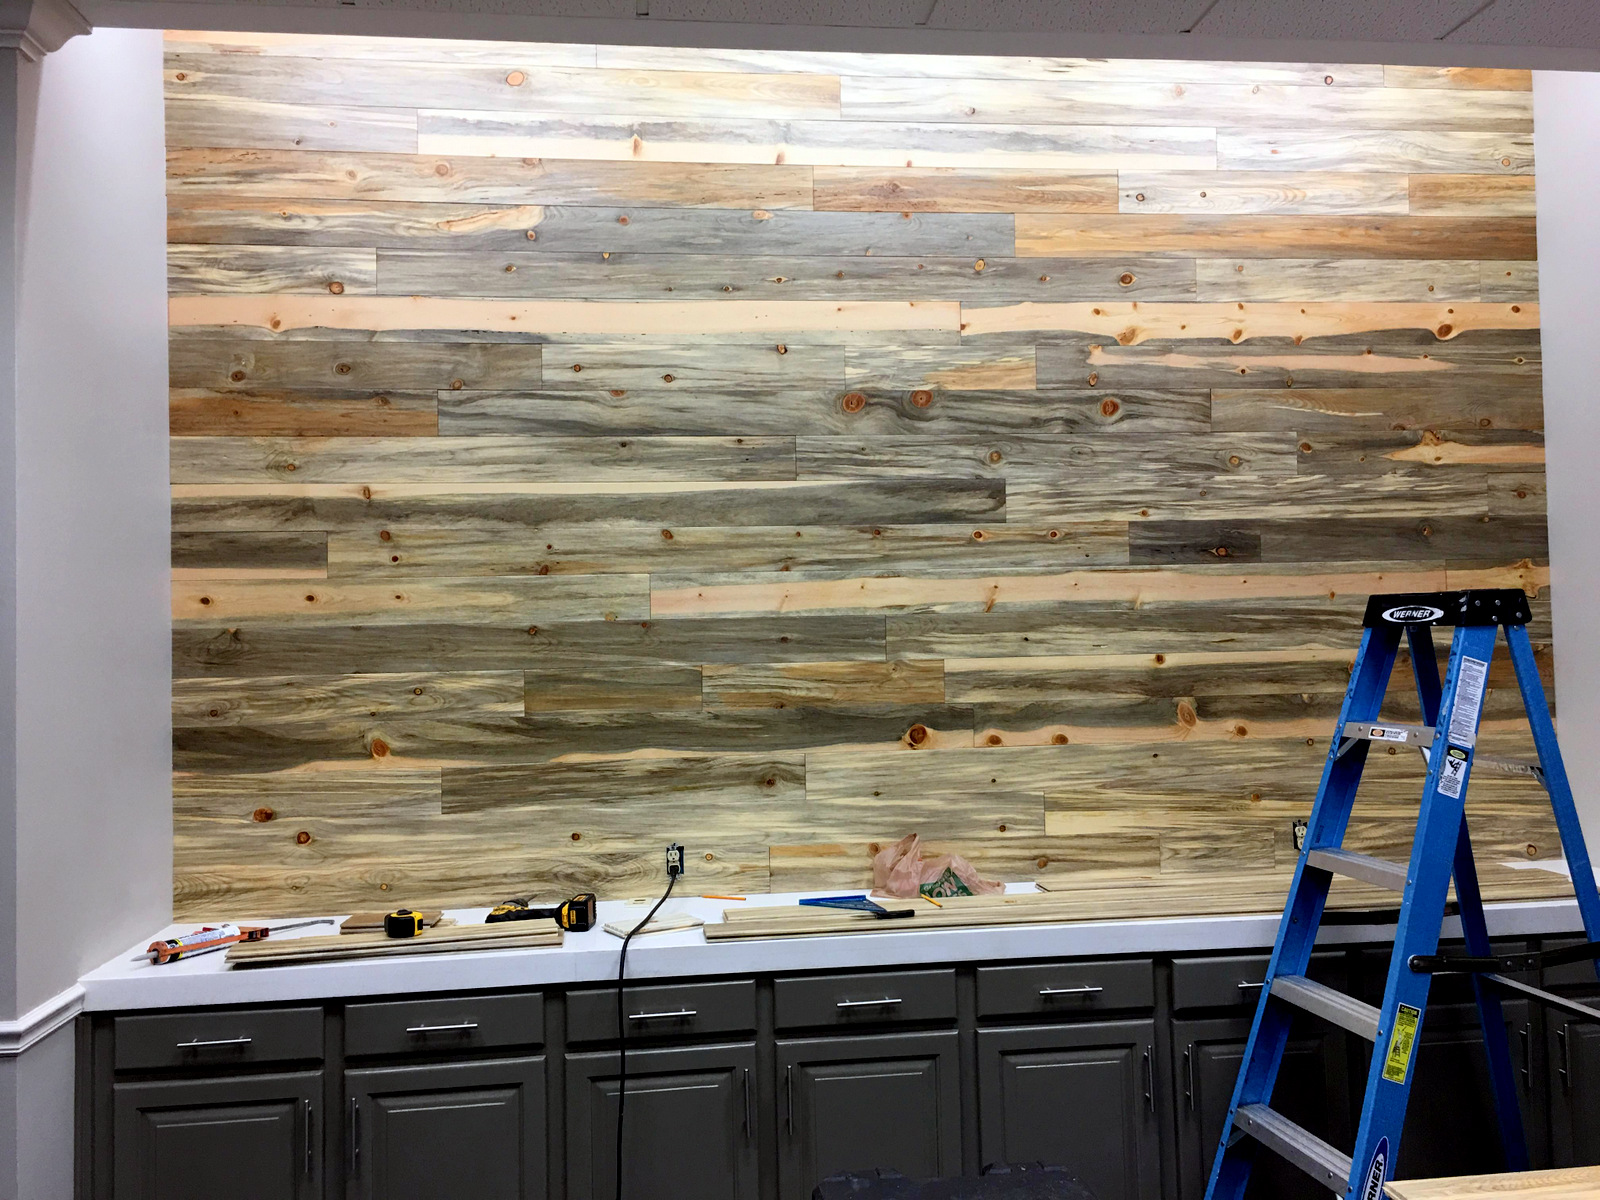 Installing tongue and groove wall boards can transform any space, giving it a warm and natural feel. Remember, it is crucial to comply with all applicable building codes and regulations to install our tongue and groove wall boards. Sustainable Lumber Company’s wall and ceiling boards are designed for interior use only, they are not recommended for exterior use.
Inspecting Your Product
Before installing tongue and groove wall boards, begin by thoroughly inspecting your product. Check the material to make sure it meets your expectations and look for any visible defects like warping, holes, cracks, splits, mis-milling, or color variations. Normal industry standards allow for up to 5% to have defects related to milling, handling, finish, and grade.
Storage and Acclimation
Wood is hygroscopic and responds to changes in temperature and humidity. Proper storage and acclimation are essential:
Storage: Store materials indoors in a clean, dry area on a flat-level surface. Avoid storing boxes directly on concrete or near outside walls.
Acclimation: Open the packaging and separate the planks into smaller lots to facilitate moisture equalization. Allow the wood boards to acclimate in the installation area for at least 72 hours.
Job Site Requirements
Before installation, ensure the job site and substrate meet the necessary conditions:
Moisture and Temperature: Complete all work involving water or moisture before installing wood wall boards. It’s important to have the least amount of humidity in the room as possible.
HVAC Systems: Ensure HVAC systems are operational, maintaining a temperature of 60-70°F (15-21°C) and humidity levels of 35-55% for at least one week before and during installation.
Conditioned Area: The area must be properly conditioned and maintained during and after installation. Avoid installing in areas subject to moisture.
TONGUE AND GROOVE INSTALLATION GUIDE: THE PROCESS
Tools Required:
- Stud finder
- Pencil
- Level
- Nail gun with finish nails
- Miter saw
- Table saw
Steps:
 Mark the Studs: Use a stud finder to locate and mark all studs on the wall with vertical lines from floor to ceiling using a level and pencil.
- Position the Board: Position the first board with the tongue facing up.
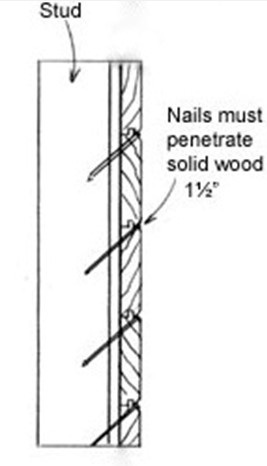
- Nail the board: Using a nail gun, shoot finish nails through the tongue at an angle where it crosses each stud. This will secure the board to the wall.
- Next Row Starter Piece: If your boards are end-matched (tongue and groove on the ends) the cut-off piece from the last board in the row becomes the starter piece for the next row. Place it on top of the first plank, locking the tongue and groove together.
- Continue Nailing: Shoot nails through the tongue of each new board at a downward angle where it crosses a stud. This will hide the nail heads as the next board will cover them.
- Repeat Process: Continue this process for each new board, building up the wall.
- Last Row Adjustment: Use a table saw to rip the top plank along its length so it fits snugly near the ceiling.
By following the detailed steps in this how-to guide for installing wood wall paneling, you can achieve a professional and visually pleasing tongue and groove wood wall.
Our knowledgeable and educated staff is here to answer any additional questions you may have. Please call us today for a free quote: Ph# 406.642.7120 or click here to submit an inquiry online. We look forward to working with you on your next project!